ALVAO WebApp Traffic Analysis
Enabling the Traffic Analysis for ALVAO WebApp
- Create your Google account (if you already have one, skip this step).
- Log on the page: http://www.google.com/analytics/index.html with your Google account.
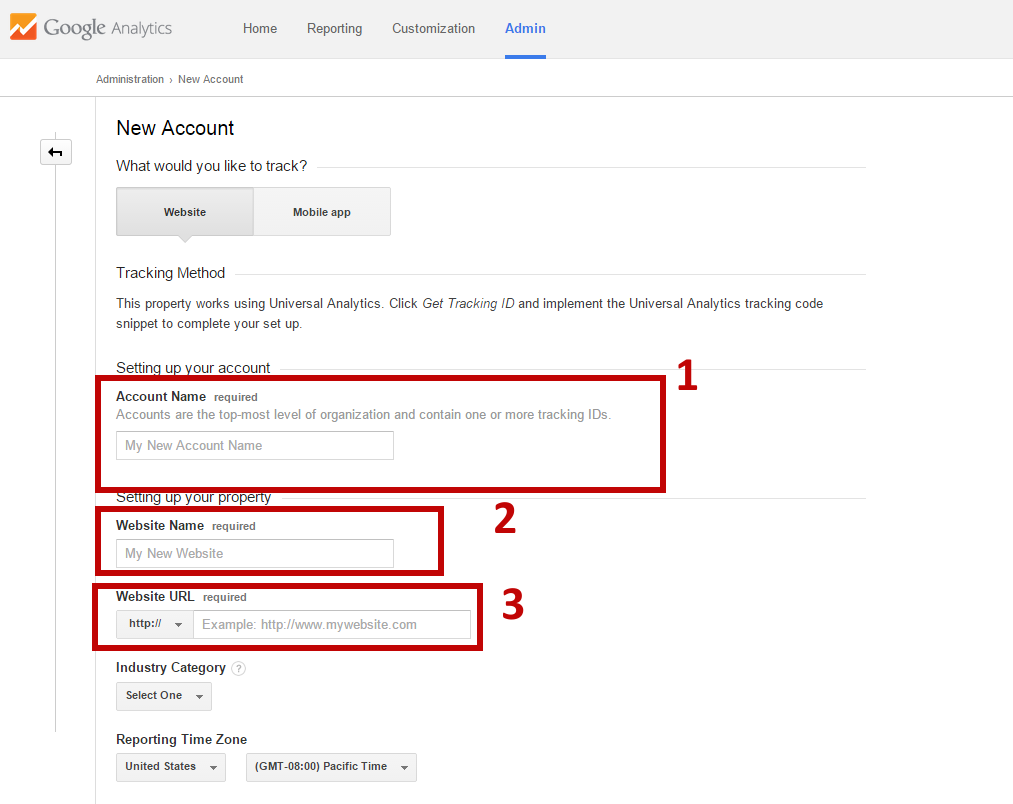
- Fill in the form to create a new account for Google Analytics service.
- Enter an account name for Google Analytics service (1). For example, the name of your company.
- Enter a name of the page with your ALVAO WebApp (2). For example your_company_name_WebApp
- Enter the URL of the pages with your ALVAO WebApp (3). You can copy the URL from Admin – Settings – WebApp – WebApp (URL).
- Fill in the other items in the form.
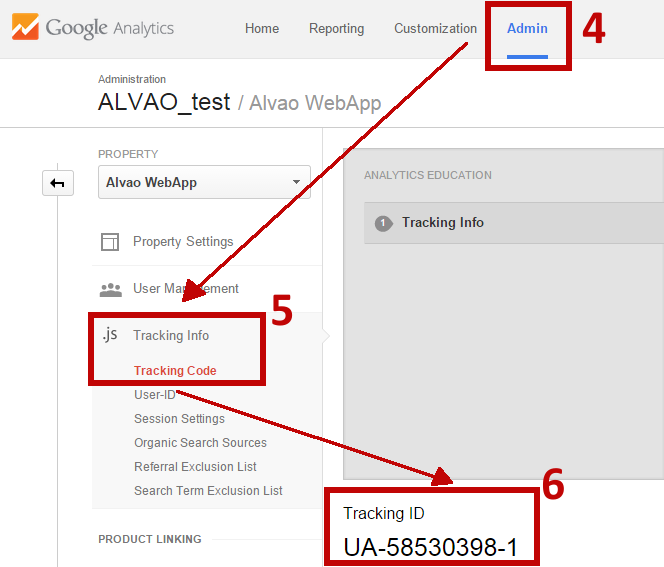
- After creating an account in the Admin section (4), the Tracking info -> Tracking code menu (5) shows Tracking ID (6).
Put the Tracking ID value into the database by the following command:
INSERT INTO tProperty (sProperty, sPropertyValue) VALUES ('WebApp.GA.TrackingID',
'UA-XXXXXX-Y');
where Tracking ID value will be inserted instead of UA-XXXXXX-Y and the quotation marks will be preserved.
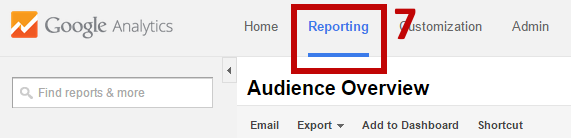
- First statistics should be available approximately within 24 hours. You can show the statistics by clicking to Reporting tab (7) after login to Google Analytics account.
Changing Scripts for Traffic Analysis
- Log on the page: http://www.google.com/analytics/index.html with your Google account.
- After login in Admin section, select from Tracking info -> Tracking code menu where the code for traffic analysis is shown.
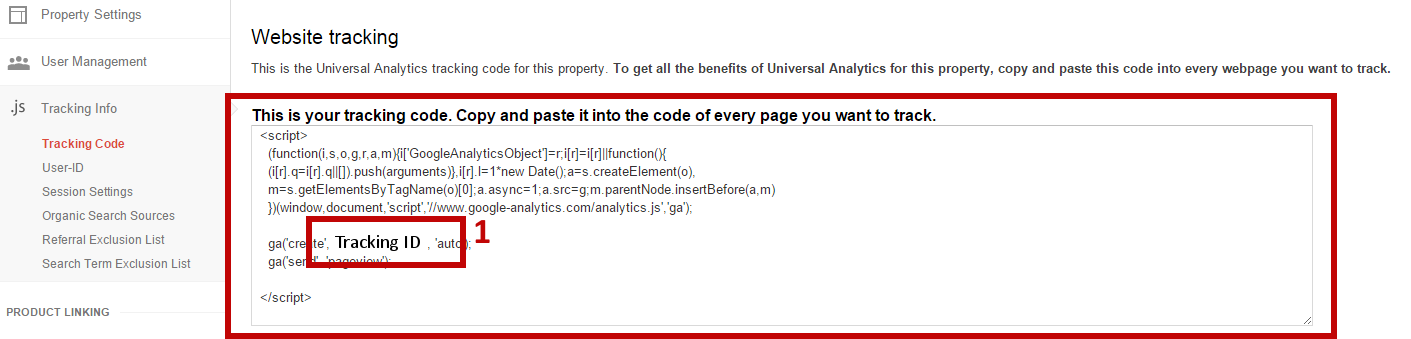
- Replace "{0}" with your Tracking ID value (1).
- Edit the code for tracking analysis by running this command in the database:
UPDATE tProperty
SETsPropertyValue = 'your_edited_code_for_traffic_analysis_measurement'
WHERE sProperty = 'WebApp.GA.TrackingCode';
Changing Tracking ID for Traffic Analysis
Change the Tracking ID in the database by running this command in the database:
UPDATE tProperty
SETsPropertyValue = 'UA-XXXXXX-Y'
WHERE sProperty = 'WebApp.GA.TrackingID';
where 'UA-XXXXXX-Y' is the new Tracking ID.
Did not find what you were looking for? Ask our technical support team.
|